Material displacement

Adobe’s Documentation: https://substance3d.adobe.com/documentation/sg/material-displacement-238059934.html

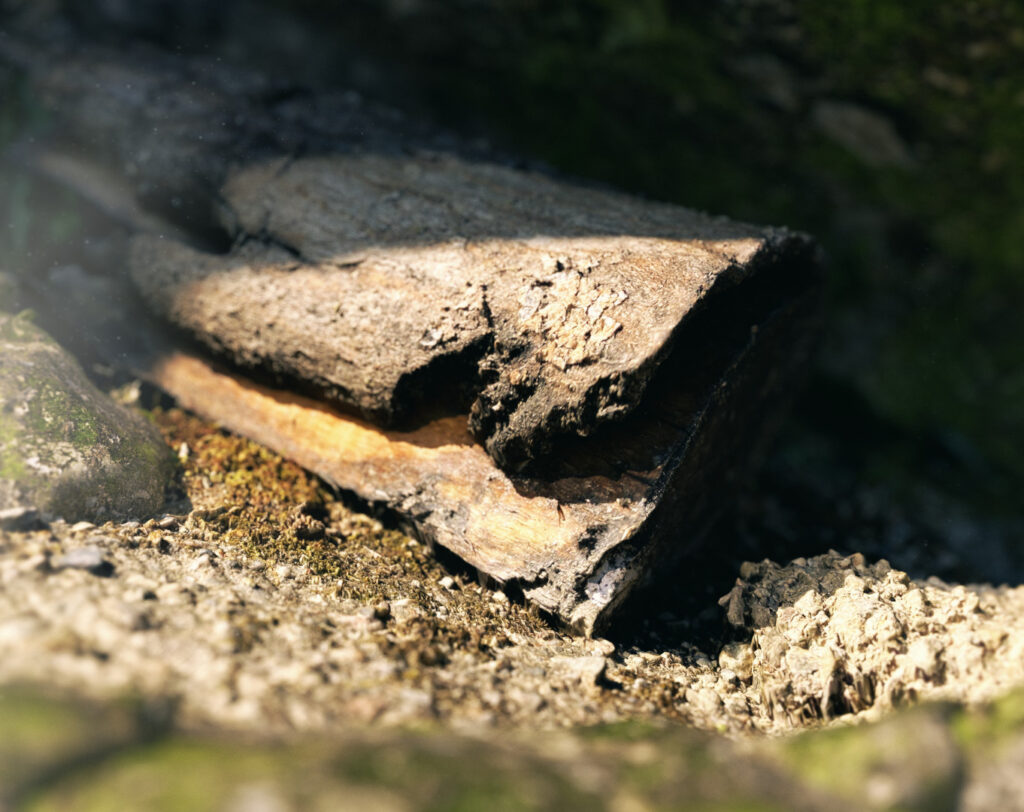
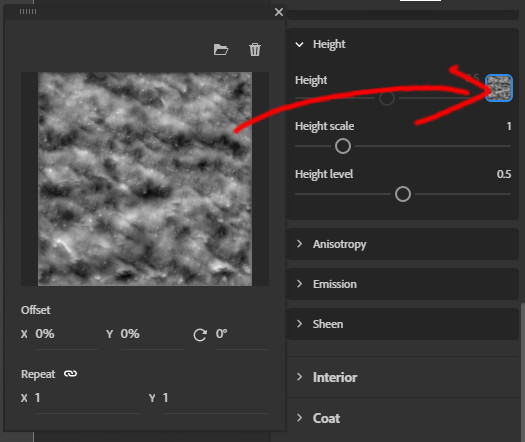
With material displacement you can create details, bumps and other surface information onto your model with a grayscale image called a height map. When creating or using existing height map, take a note that the black/darker areas are lowered and white/lighter areas are raised.

If you want to use your height map in Stager, go to the Properties panel → Material → Height section where you apply the height map, then go to Object tab → enable displacement.

Height map options

Next thing to do is adjust your height scale/level.

Normally I only adjust the scale, and leave level to 0.5, more information about the height level on Adobe’s Documentation page.

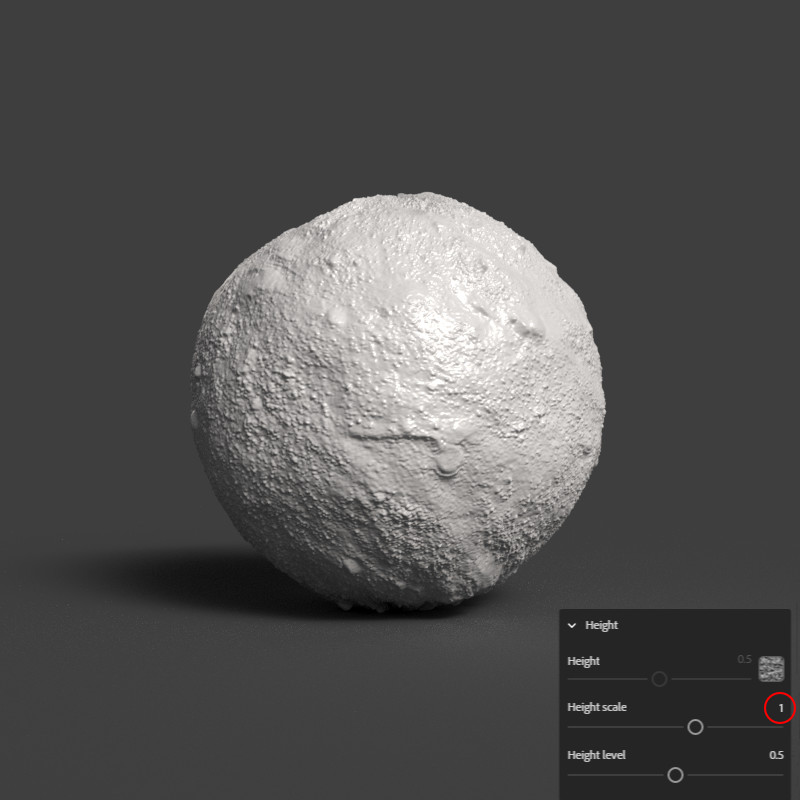
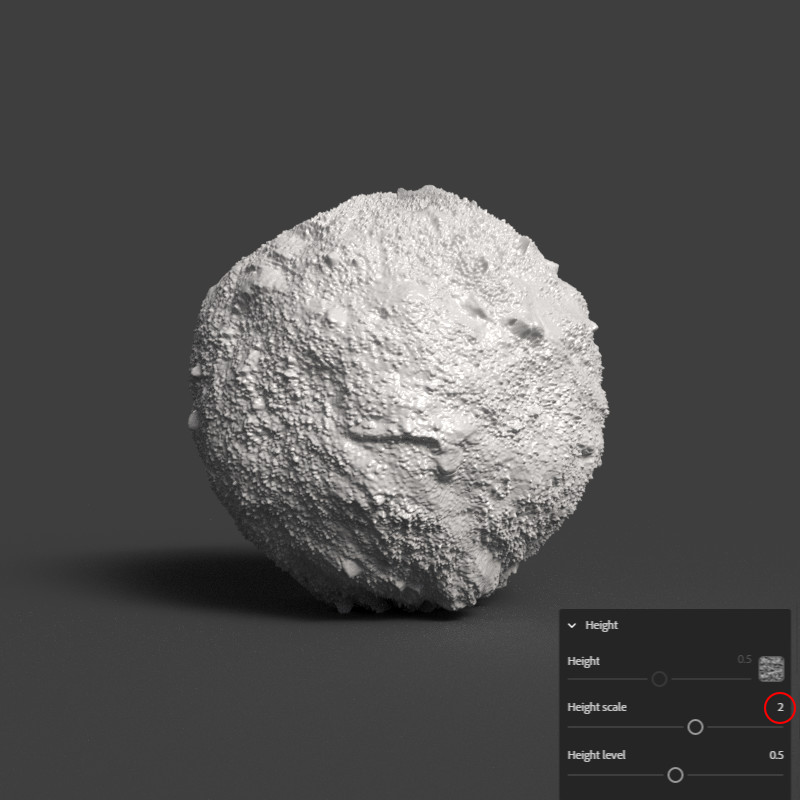
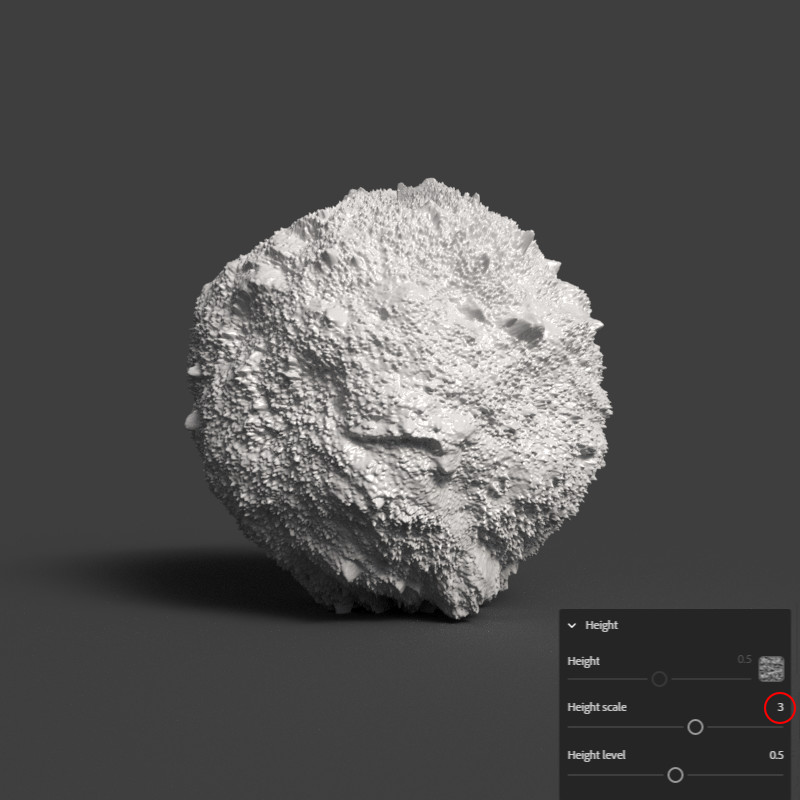
Height scale represents the distance of the displacement, so in plain language the higher value will set the displacement/reach of the height more further away from the object.

Height scales from 1. to 3.

Displacement tessellation options

Once you’re in the Object/Displacement panel, you need to enable Displacement and decide which Tesselation mode you want to use. I’ve been mainly working with per-triangle-fixed mode, here’s a take from Adobe’s documentation explaining the tesselation modes;

“Tessellation is a system which takes the original shape of the model and adds more geometry detail to it. Displacement works by offsetting the geometry surface, so if the model doesn’t have enough detail the displacement effect can appear coarse with artifacts and stretching.”

  • Uniform (per-triangle fixed) will equally take every triangle on the underlying model and split it into new face. Each subdivision will increase the number of faces again.
  • Uniform (total face budget) will also equally divide faces, but will stop once a maximum number of faces are created.
https://substance3d.adobe.com/documentation/sg/material-displacement-238059934.html

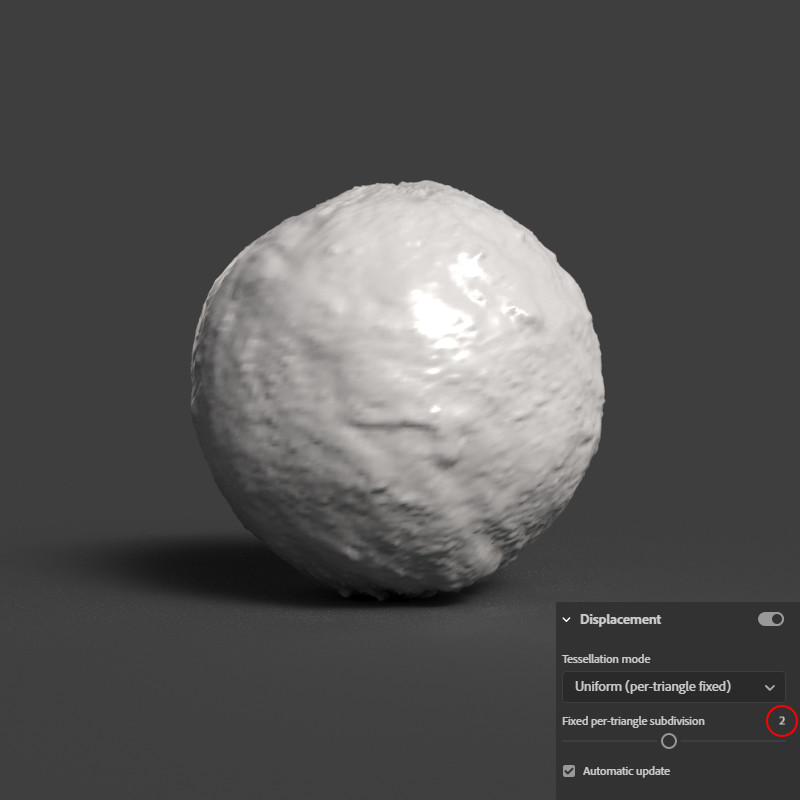
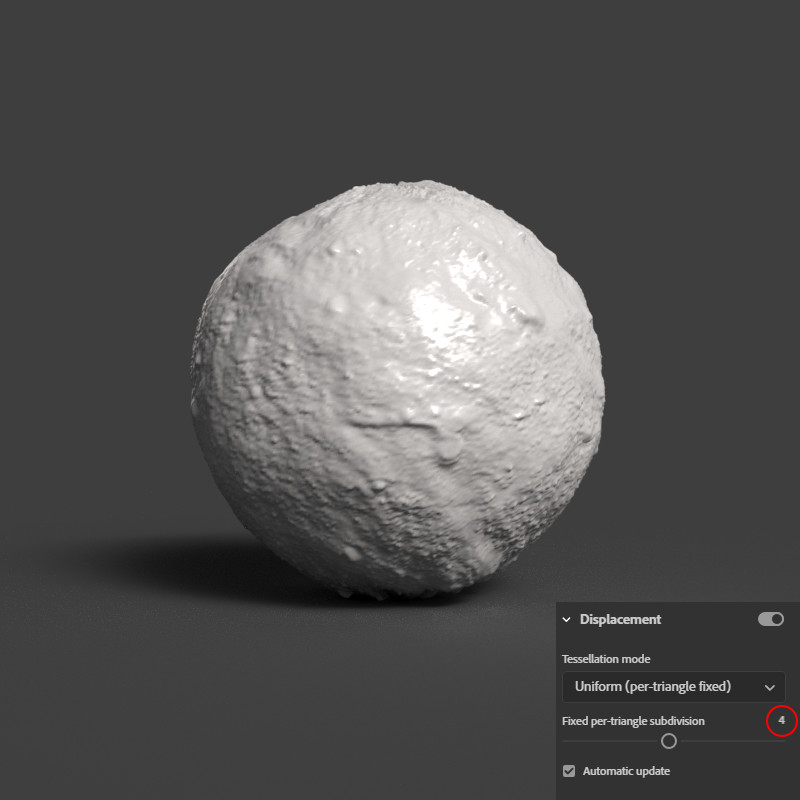
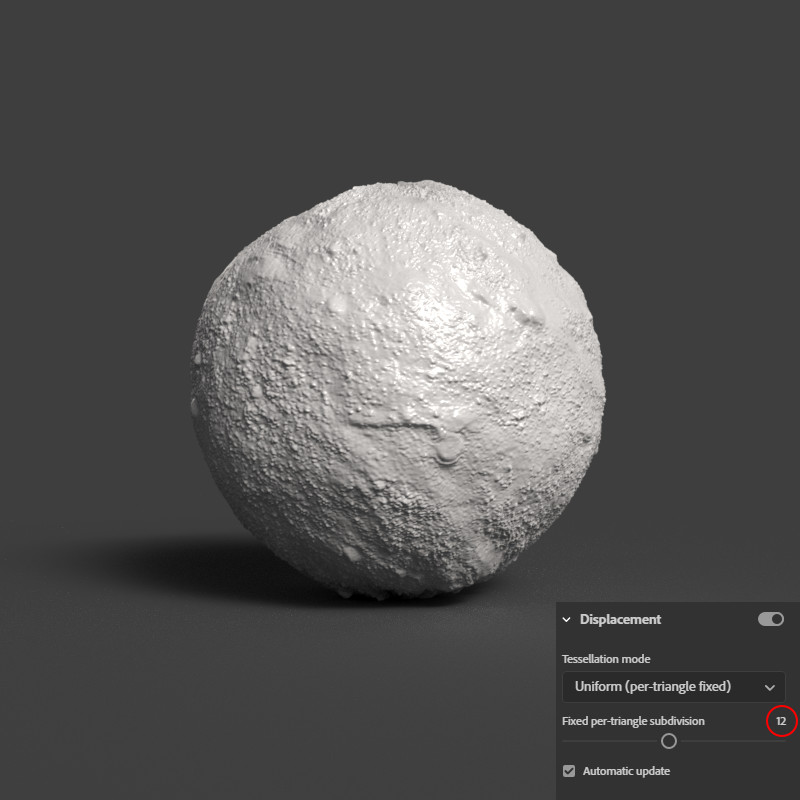
Per-triangle fixed subdivision set from 2. to 12.

As you can see, higher the per-triangle fixed subdivision value is, more detail you can get. But since each subdivision will increase the number of faces, the more your PC will use resources and your scene can get quite heavy so start adjusting it from lower values at first and see how high you can get.

If you have any questions about this or anything else, contact me or check out Adobe’s Stager Documentation page!

Clouds and smoke with Adobe Dimension

2023 Update: this works on Adobe Substance Stager as well!

Creating Opacity map

To begin with, you need photos of smoke, cloud or fog. (Or whatever you might want to use.)

In this tutorial I used two (quite low resolution) samples which are taken from:
https://www.brusheezy.com/brushes/2187-24-clouds (by Mila Vasileva)

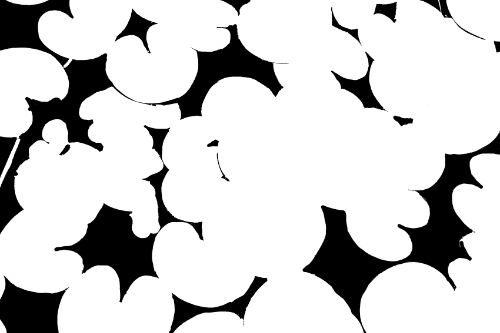
Once you have your photos, you have to make them white with a black background in order to get the best results.

Using Opacity map in Dimension

Once you have made your photo, open Dimension and add Plane. Other objects might work as well, for example Spheres if you want to have some curvature in your smoke.

Next step is to add your photo in to the Opacity map of the plane. (You can drag & drop it in there)

Properties

I played around with the settings a bit. With this scene I set Roughness to 20%,Glow25%and
Translucence up to 1.

With roughness and translucence you can control how much of transparency you get. With Glow you can easily add some brightness.

You can get even better results when playing around more with the properties and
environment lightning

Video Recap

Results

error: